Yes, some plastic parts can be deburred with mass finishing, but suitability depends on the actual plastic, part geometry and required result. Mass finishing uses relative movement between parts and finishing media to work the surface. Its use is not limited to metal. That does not make a metal-part recipe suitable for a plastic component, or establish that every plastic burr can be removed this way.
Start with the part: What plastic is it? Where is the burr? What must remain unchanged?
A smooth-looking sample is not enough if a hole no longer fits, a required edge has changed, or the surface no longer matches the approved appearance. Define those limits before choosing media or cycle time.
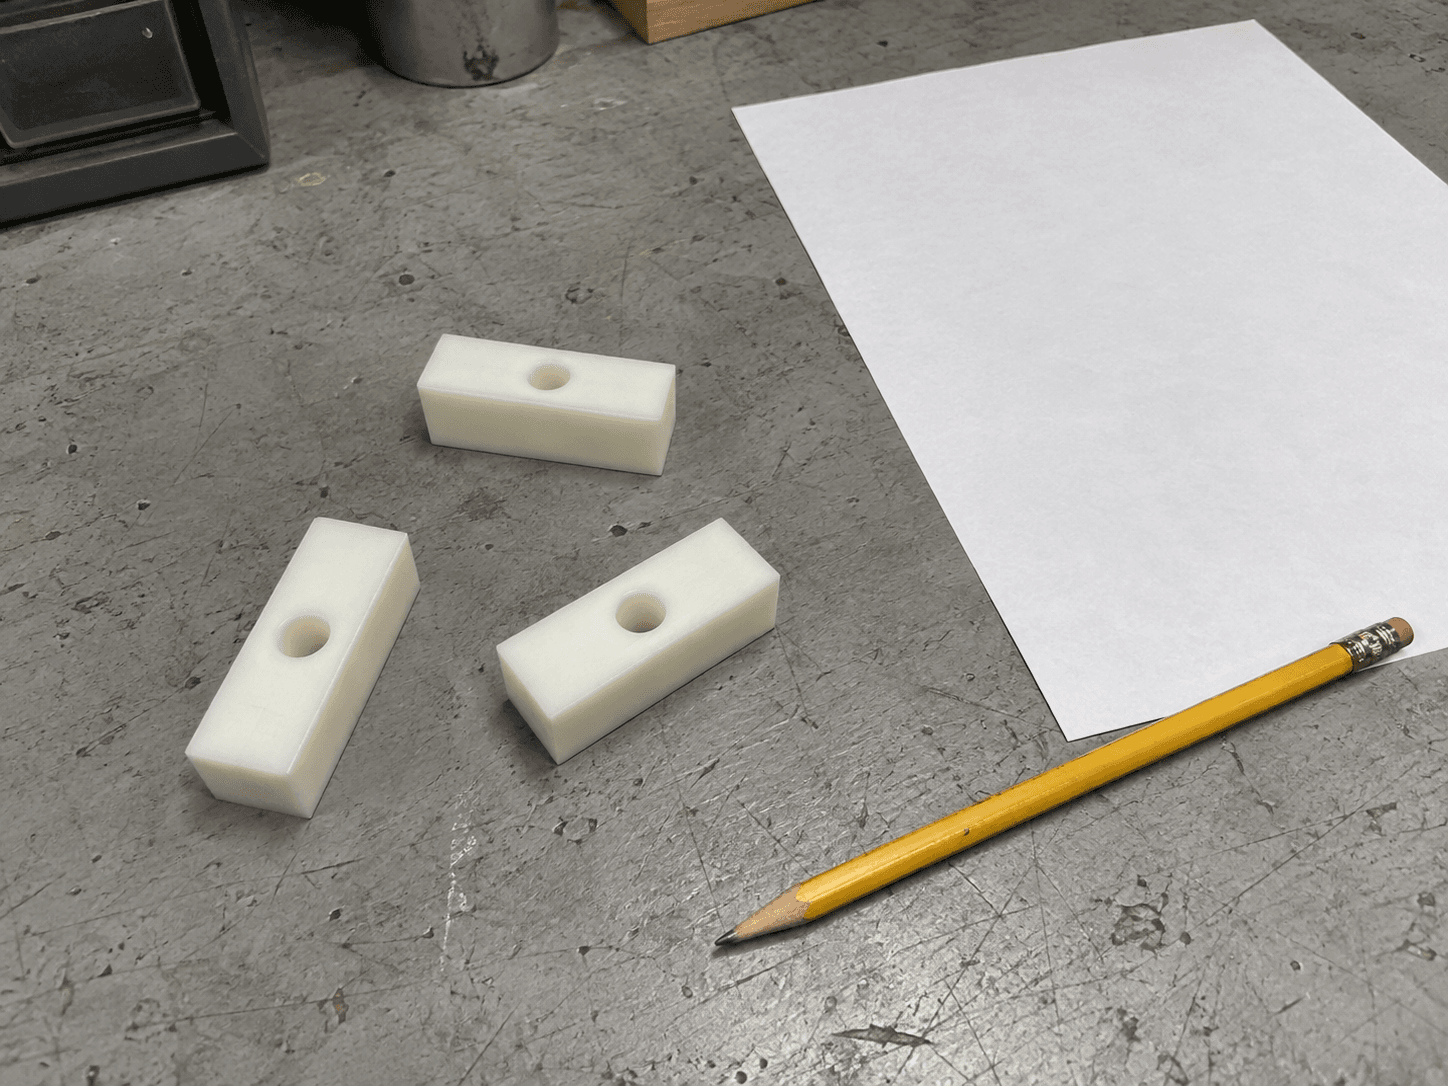
AI-generated conceptual illustration: generic plastic spacers beside blank inspection paper on a workshop bench. Not Richwood products, customer parts or a measured finishing trial. The image does not establish material identity or process suitability.
Plastic parts and plastic media mean different things
A plastic part is the workpiece. Plastic finishing media are processing tools; the name alone does not specify whether they are suitable for that workpiece.
Do not order media simply because both labels say plastic. Ask for a recommendation tied to the exact part material, the finishing task and the machine. The media formulation, shape and size are part of that recommendation, not details to fill in after purchase.
The same distinction applies to the word polishing. A process intended to improve appearance is not automatically a process that removes your burr. Define burr removal and cosmetic finish as separate acceptance checks, even if one route is intended to accomplish both.
Identify the defect before selecting the route
Show the actual unfinished part, not only a drawing or a finished photograph. Mark the burr or unwanted material and explain how it was produced. A machining burr, molding flash and a visible surface mark are different starting problems; do not treat the names as interchangeable.
Also identify features that the process must preserve. These might include a locating hole, an assembly fit, an edge profile or a visible face. The trial should answer whether the unwanted material can be removed while those features remain acceptable.
If the trial leaves the burr but changes an important feature, a longer cycle is not an automatic solution. Review the upstream operation or a different finishing route with the process supplier before committing production parts.
Build a plastic-part trial brief
Use this checklist to make the first discussion specific. It is a proposed evaluation plan, not a universal process recipe.
| Bring or identify | What the trial must establish |
|---|---|
| Exact material designation, including the grade and any known filler | The proposed media, fluid and cleaning route are suitable for this material, rather than for an unspecified plastic. |
| Representative unfinished parts with the defect marked | The process reaches and removes the actual unwanted material. |
| Drawing limits and protected features | Burr removal does not make critical dimensions, edges or fit unacceptable. |
| Accepted finished reference or agreed appearance criteria | The required appearance is understood separately from dimensional acceptance. |
| Batch quantity and downstream requirements | Parts can be processed, separated and cleaned in a workable route before the next operation. |
Ask the supplier to confirm the proposed setup for the machine, media and material combination. Do not carry over a metal-part compound concentration, loading arrangement or cycle time without that review. If a wet route is proposed, include fluid compatibility and any required cleaning and drying. If a dry route is proposed, still specify acceptable residue and complete media removal.
Inspect the result, not just the shine
Before the trial, agree on the inspection locations and acceptance criteria. Keep an unprocessed reference, and compare the finished parts using the same requirements.
Check four things:
- The defect: Is the specified burr or flash removed at the actual problem location?
- The protected features: Do the required dimensions, edges and assembly fit remain acceptable?
- The surface: Does the part meet the agreed appearance and any separately specified surface requirement?
- The complete route: Is media removed from holes and recesses, and is the part clean enough for its next operation?
Record the material, starting condition, machine, media, processing steps and inspection result. A trial on one plastic grade or one simple shape is not evidence that a different grade or more complex part will behave the same way.
Only after the part meets the requirements should you compare the full workflow with the current method. Include loading, separation, cleaning, inspection and rework, not just time inside the machine.
Quick answers
Does plastic media guarantee a gentle enough process?
No. Its name does not establish suitability for your plastic part. Confirm the particular media and setup, then verify the result against the features you need to preserve.
Should plastic parts always be processed dry?
No universal wet-or-dry rule follows from the word plastic. The material, intended finishing action and complete cleaning requirements need to be evaluated together. Neither route is approved by this article for a particular part.
Can I use the result from one resin for another?
Do not assume it transfers. Identify the new material and any changed requirements, and have the proposed process reviewed and validated for that part.
Start with a part discussion
Bring the material designation, representative unfinished parts, the defect location and an accepted finished reference if available. Include the protected features and expected batch quantity.
Contact Richwood to discuss whether the part is a candidate for evaluation and what information is needed next. Confirm the evaluation scope and terms before sending parts; this is not a promise that every plastic application can be processed.