
Flat parts can stick face-to-face during wet mass finishing, preventing media from reaching the covered surfaces. Other parts physically interlock. Before extending the cycle, establish which problem you have, when it starts, and whether the current load lets the parts move independently. Changes to loading, media and liquid conditions need a controlled trial; no single recipe suits every machine or part.
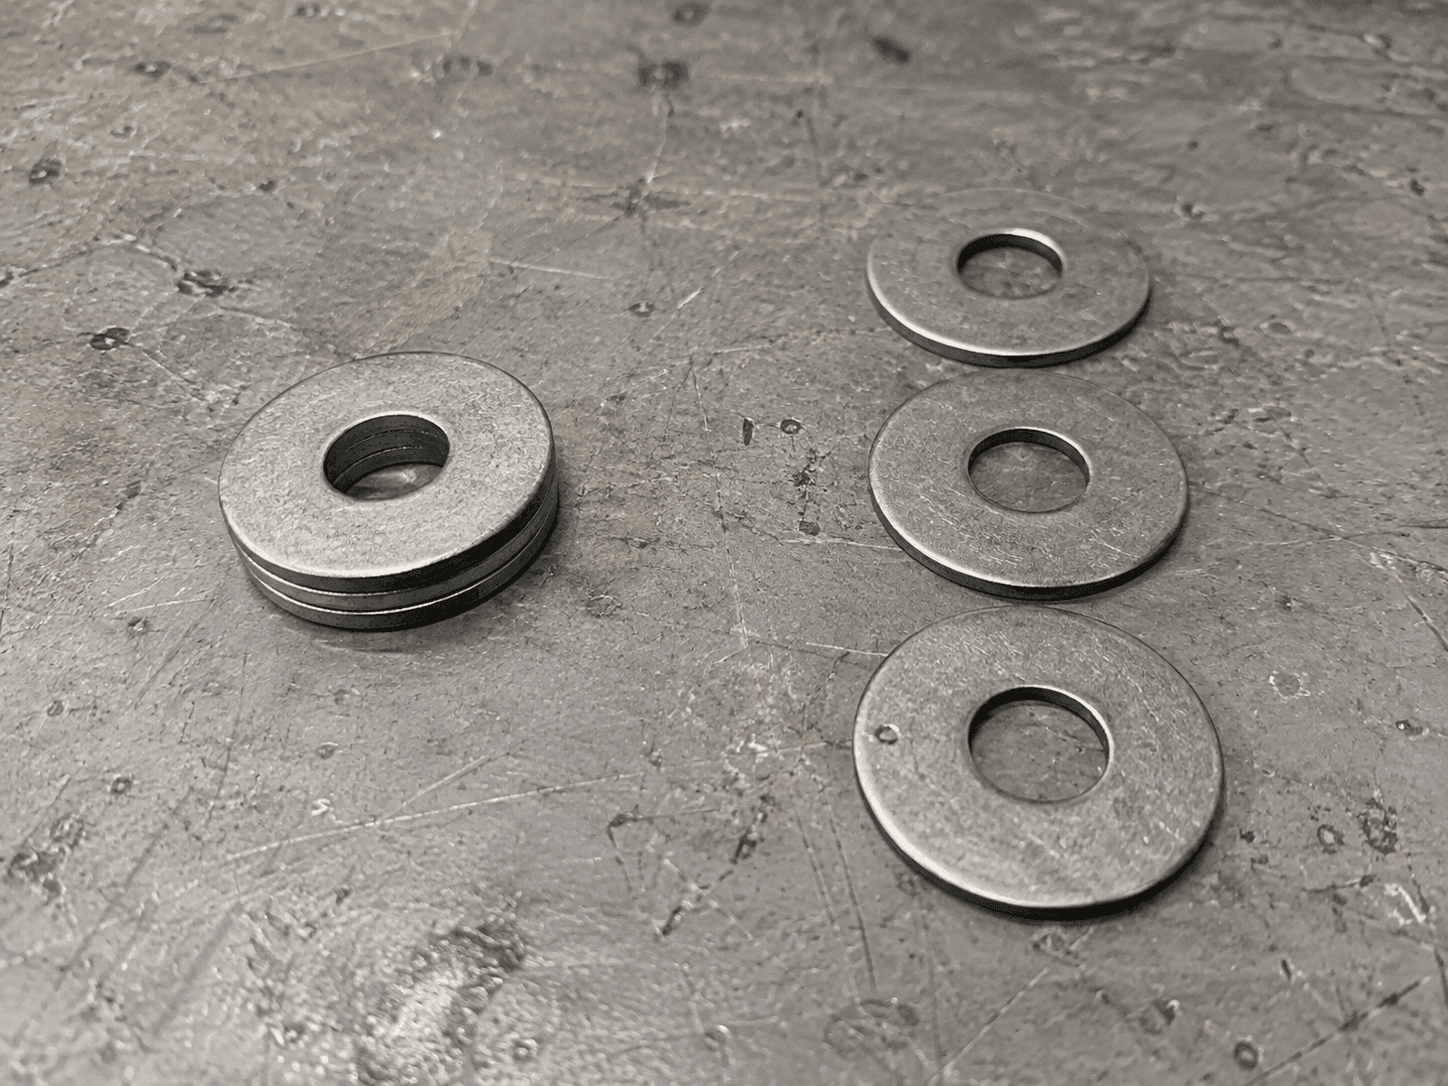
AI-generated conceptual illustration: generic washers arranged in a stack and separately. Not Richwood products, a before-and-after comparison or measured test evidence.
Start with the parts that did not finish
Are the parts lying flat against each other, hooked together, or stuck to the machine at discharge? Those are different problems.
Here, “nesting” means parts stacking or fitting together during processing. It does not mean arranging shapes on a sheet for laser cutting.
Thin, flat, wet parts can cling together through capillary attraction—the tendency of liquid between nearby surfaces to help hold them together. A hooked tab or overlapping feature can instead create a mechanical interlock. Neither problem is solved simply by looking at the shine on the exposed face.
Inspect a representative affected group after the machine has been stopped and accessed according to its operating instructions. Separate the parts and compare the hidden faces, exposed faces and required edges. Keep an unfinished part and an acceptable finished reference beside them. What actually needs to change: burr removal, surface appearance, an edge, or all three?
Find where the sticking begins
| What you observe | What to check next |
|---|---|
| Parts already arrive as a stack | Incoming handling and whether the load begins with separate parts |
| Broad wet faces cling together | Loading, media separation and liquid conditions in the actual machine |
| Tabs or shaped features hook together | Geometry and whether loose-batch processing is appropriate |
| Parts finish separately but hang up at discharge | The discharge path and downstream handling, not only the finishing cycle |
| Covered faces differ from exposed faces | Whether media had access to every required surface |
Record what you find before changing the process. A photograph of the arrangement and the affected surfaces can explain more than “the finish is inconsistent.”
Test separation before adding more time
First, review the load. More parts in the same batch can make separation harder. A trial with fewer parts may show whether crowding is contributing. Keep the machine within its manufacturer's operating limits; a part-count change is not permission to run an improperly filled machine.
Next, review the media. Media helps separate parts as well as work their surfaces. Smaller media may help between thin pieces, but it creates another question: will it lodge in a hole, slot or recess, and can it be separated afterward? Do not exchange a sticking problem for a trapped-media problem.
Then, check the liquid conditions. For a wet vibratory process, review water flow, drainage and compound settings against the approved process and supplier guidance. Excess liquid can contribute to sticking in some applications. That is not a universal instruction to reduce water: a flow-through vibratory tub and a closed barrel do not use the same liquid-control method.
Change one variable at a time and record the result. Avoid adding improvised spacers, scrap metal or unfamiliar chemicals to production without checking compatibility, contamination risk and retrieval.
When a loose batch may be the wrong approach
If the geometry keeps locking together, or the parts cannot tolerate contact, ask whether an approved fixture, divider or individually held process is more appropriate. Those options require their own machine and process review. A stronger finishing action is not automatically a better answer for a delicate part.
A longer cycle alone does not establish that a covered surface has received the required finishing. Inspect the formerly hidden areas and confirm dimensions and edges against the actual acceptance requirements.
Judge the whole batch, not one separated sample
For the next controlled trial, record:
- How many parts went in and how many came out stuck together.
- Whether hidden faces and required edges meet the agreed finish criteria.
- Whether the change introduced dings, distortion, trapped media or dimensional changes.
- The extra time required to separate, rinse, dry and inspect the parts.
A trial succeeds when acceptable parts leave the whole process reliably—not just when a stack comes apart.
For the information to prepare before a process discussion, see what to send for a deburring sample test.
Have parts coming out stuck together? Contact Richwood with the material, thickness, part geometry, machine, current media and a photo of the sticking pattern. Include the finish you need so the next step starts with your part, not a guessed recipe.