
If burrs have become larger, thicker at their attachment, or harder for the media to reach, review the machining operation before extending the mass-finishing cycle. If the incoming burrs have not changed, compare the finishing setup with the last accepted run. More time is an option to test, not a diagnosis.
Start with the part: Where is the burr? What does it look like before finishing? Which nearby edge or dimension must stay unchanged?
A finishing process has to remove the unwanted material without taking an acceptable feature out of specification. The answer may be a controlled cycle change, an upstream machining correction, or a separate operation on the difficult feature.
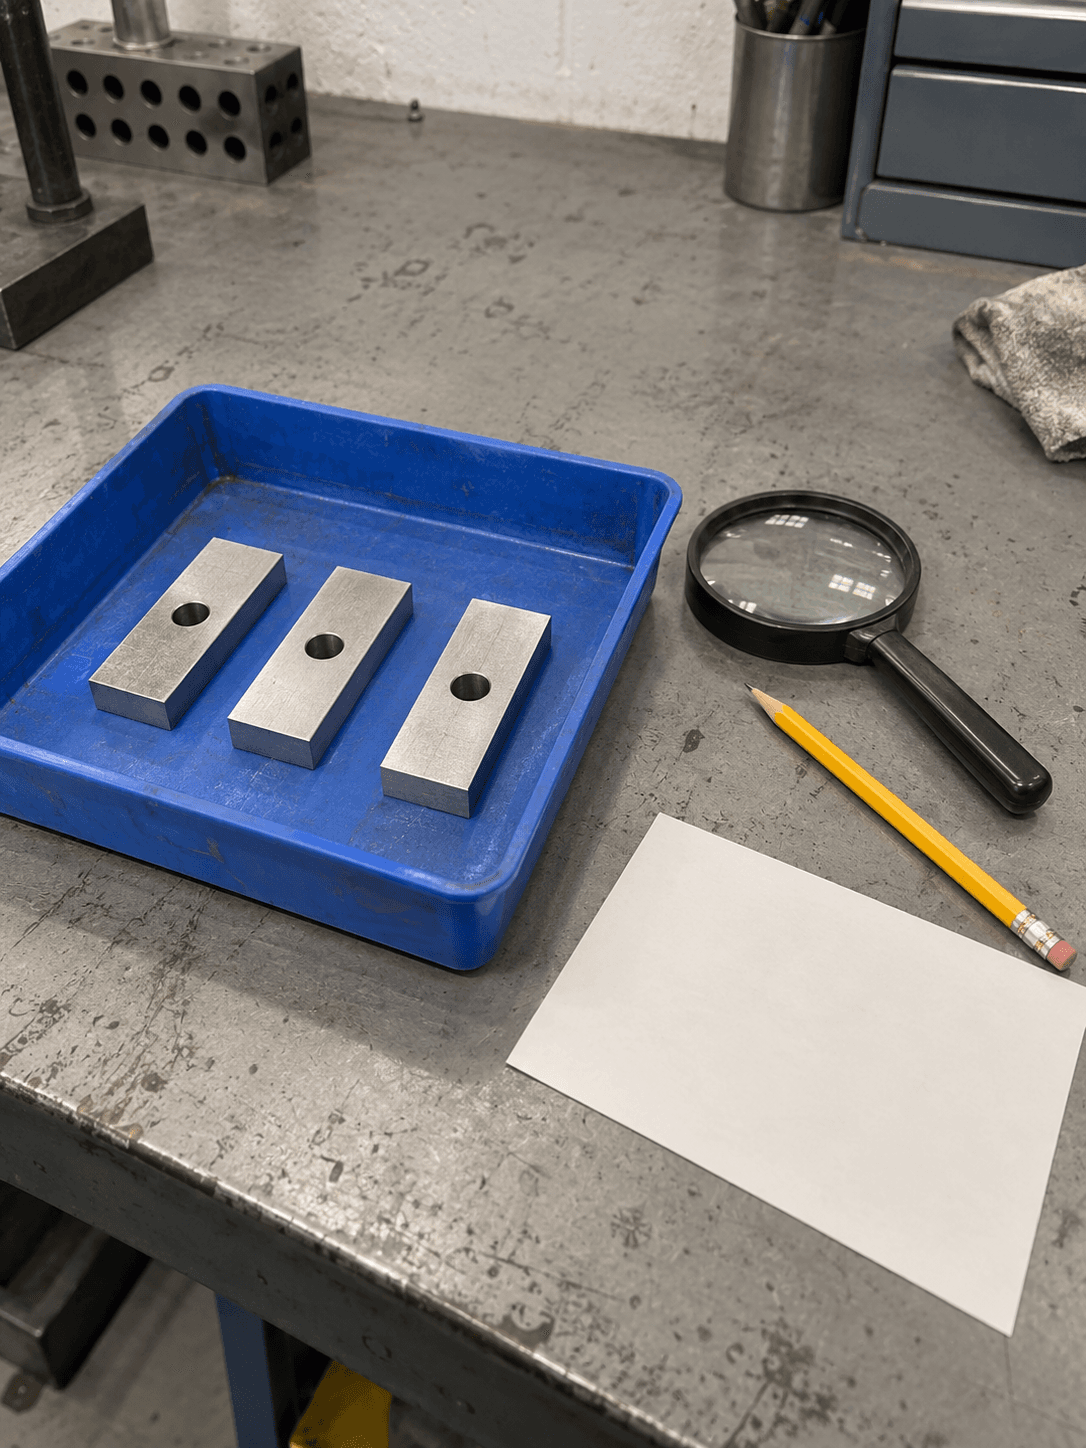
AI-generated illustration of generic metal coupons, a magnifying glass and a blank inspection card on a workshop bench. Not Richwood products, customer parts, a measured burr comparison or test evidence.
Look at the attachment, not just the height
A burr is unwanted material still attached to a part after an operation such as cutting or drilling. Its root is the area where it remains attached. A tall, thin projection and a short, thick-rooted burr are not necessarily the same finishing job.
Record the burr's location, height and root thickness where your inspection method can establish them. Also note its direction and whether it is exposed or inside a feature. Do not select a finishing cycle from a distant photo or burr height alone.
There is no universal burr-size cutoff that makes every part suitable or unsuitable for tumbling. Material, burr geometry, media access and the finished-part requirements all matter.
Decide which side of the process to investigate
| What changed? | What to compare | Next decision |
|---|---|---|
| Incoming burrs grow during a machining run | Parts from earlier and later in the run, cutting-tool condition and the machining record | Have the machining team investigate the upstream change before making a longer finishing cycle the new standard. |
| Burrs appear at a different edge or inside a new feature | Drawing revision, operation sequence, tool path and access to the burr | Determine whether the selected finishing process can reach the attachment. A separate targeted operation may be needed. |
| Incoming parts appear comparable, but the usual cycle leaves burrs | Actual load, media identity and condition, compound, water and machine settings versus the accepted baseline | Investigate finishing-process drift. Do not assume worn cutting tools are the cause. |
| The burr is removed only after another feature goes out of specification | Burr acceptance, edge limits, dimensions and surface requirements at each trial stage | Stop treating extra time as an acceptable production solution. Revisit the upstream burr or the process route. |
These are investigation prompts, not automatic diagnoses. Use your quality procedure to identify and control affected parts while the cause is being established.
When changing the cut deserves priority
Tool condition and cutting conditions can influence burr formation. Ask the machining team whether the difficult burr appeared after tool wear, a tool change, a material change, or an adjustment to the operation. Compare actual incoming parts; the same part number does not prove the same burr condition.
The goal is not to prescribe a universal feed, speed or tool path. A change that helps one material and feature can create another problem elsewhere. Have the responsible machining engineer evaluate the change against the drawing and the complete process.
If an upstream correction reduces the deburring burden, compare the whole route: machining time, any targeted deburring, mass finishing, handling and the number of accepted parts. A shorter machining cycle is not a saving if it creates more finishing work and rejects.
When a finishing trial makes sense
A trial is useful when the burr is accessible and there may be room to change the finishing process while preserving the required geometry and surface. Agree the acceptance criteria first. Keep the incoming-part groups identified so that a lighter burr condition does not hide a problem with the heavier one.
- Preserve the accepted baseline: machine and configuration, media, load, compound and water, and cycle settings.
- Compare representative unfinished parts, including the troublesome condition, with an accepted finished reference.
- Change one planned variable at a time where practical. Identify each sample and inspect both the burr and the features that must be protected.
- Evaluate the full route before releasing a revised process. A sample that loses its burr but fails an edge or dimension is not a successful result.
Follow the equipment manufacturer's operating limits. A vibratory bowl's settings are not a recipe for a centrifugal barrel machine.
For the surrounding process controls, use the mass-finishing process-record checklist. For the acceptance trade-off, see deburring without over-rounding critical edges.
Common questions
Can a longer cycle remove a heavy burr?
Sometimes, but it must remove the burr while the rest of the part remains acceptable. Time alone does not solve unsuitable media access, and a cycle that damages a required feature is not qualified simply because the burr is gone.
Should every heavy burr be removed before mass finishing?
No blanket rule fits every part. Compare the burr's attachment and accessibility, the material, and the permitted change to the part. An upstream correction or a targeted deburring step is worth evaluating when mass finishing cannot meet all of those requirements together.
Does a remaining burr prove the cutting tool is worn?
No. Tool wear is one possibility. Changed incoming geometry, media condition, loading, chemistry or machine settings can also change the result. Compare evidence from both sides of the process before choosing a fix.
Bring the unfinished part into the conversation
Contact Richwood with the part material, burr location, current machine and media, and the finish or dimensional limits you need to hold. Include clear photos of the unfinished condition and an acceptable finished reference. Confirm sample arrangements before shipping parts.
The useful question is not just how long to run the machine. It is which process gets this part accepted without creating another problem.