There is no single material-removal allowance you can safely apply to every mass-finishing job. Abrasive finishing removes material, but how much a critical dimension changes depends on the part and the qualified process. Measure representative parts before and after a trial, using the drawing's acceptance requirements. Do not promise that a fit will survive because the part looks smooth or the cycle is short.
Start with this question: which dimension has the least room to change?
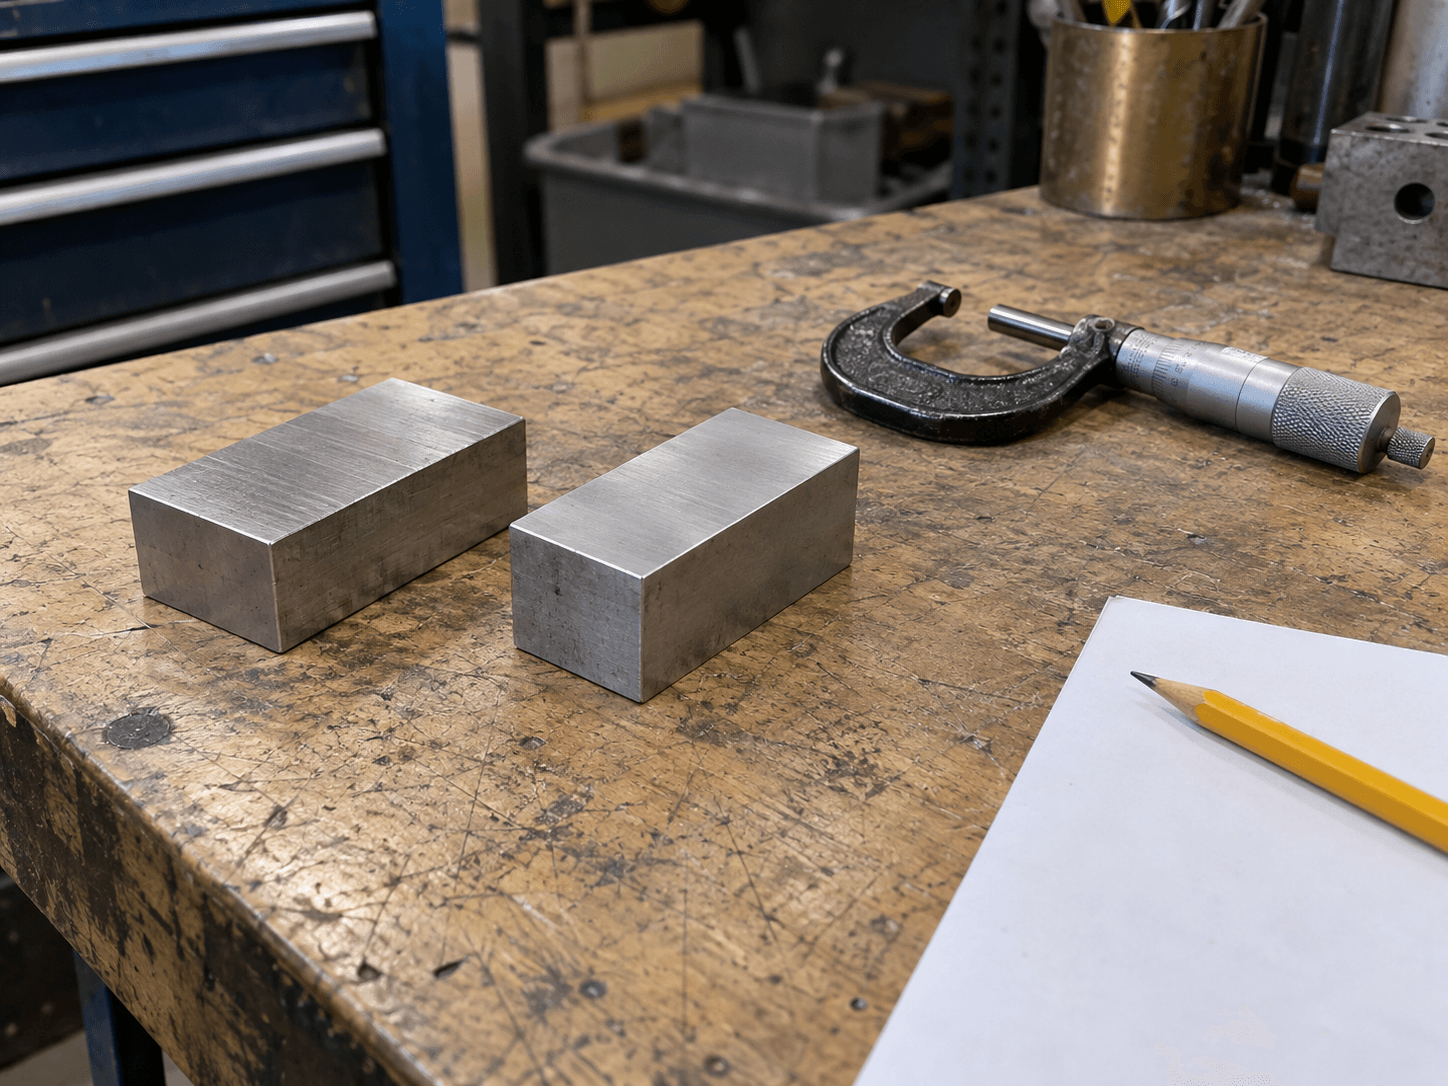
AI-generated conceptual illustration: generic metal blocks and an idle measuring tool on a workshop bench. Not Richwood parts, a recommended inspection setup, a before-and-after comparison or measured test evidence.
Separate three different questions
“How much does tumbling take off?” can mean three things:
- How much material must come off the burr?
- How much may the surrounding surfaces change?
- Will the finished part still meet its size and fit requirements?
A process must answer all three. Removing the burr is not permission to change the rest of the part without a limit. Likewise, a good surface-finish result does not establish dimensional acceptance.
For a critical outside diameter, thickness or slot, identify the actual drawing limits before asking for a media or cycle recommendation. Include the material and condition, burr location and incoming size range. A nominal dimension alone does not show the available room for finishing.
Start from the incoming size, not the middle of the tolerance
Tolerance is the permitted variation in a specified dimension. A part near one limit has a different margin from a part near the middle, even though both pass incoming inspection.
For example, if abrasive action reduces a particular outside diameter, the relevant concern is its remaining margin above the lower size limit. For a hole whose wall is actually reached and cut, enlargement raises a different concern: the upper limit. These are directions to check, not predictions of how much the process will remove. Media access and local geometry still matter.
Do not treat an outside-diameter change as a universal “removal per side” value. Do not use a change in total part weight to certify one local dimension. Those observations describe different things from a direct check of the required feature.
The useful trial result is not simply “the average part passed.” Keep each measured part's incoming and outgoing readings together, and look for the features or parts that approach a limit.
Build a small dimensional-check worksheet
Agree the inspection plan with the person responsible for quality before the trial. Use consistent feature identification and an appropriate measurement method; the tool shown in an illustration is not an inspection recommendation.
| Record | What belongs in it |
|---|---|
| Part identity | Trial-part identifier, material and drawing revision |
| Critical feature | Marked location, size limits and units |
| Incoming reading | Actual reading for that identified part and feature |
| Trial condition | Machine, media, compound, load and processing time |
| Outgoing reading | The same feature after the agreed cleaning and inspection preparation |
| Acceptance | Dimensional result plus separate burr, edge and finish checks |
Ask the quality team to choose equipment and a method capable of resolving the change that matters. If the expected change is too small for the chosen method to distinguish reliably, “we saw no difference” is not proof of zero removal.
A finished reference is useful for communicating the desired result. It does not replace the drawing or the dimensional record. For the broader sample-preparation checklist, see what to send for a deburring sample test.
If the burr remains but the size is already at its limit
Do not extend the abrasive cycle by default. Bring the paired measurements and burr inspection back to the process discussion.
Possible routes to evaluate include reducing the burr at the machining operation, changing the finishing process, using a localized deburring step, or changing the order of operations. None is an automatic fix. A change that improves one feature still needs to pass the complete drawing and inspection requirements.
Changing machining allowances is a manufacturing-engineering decision, not a number to borrow from another shop's tumbling recipe. Establish the actual process behavior before modifying upstream targets.
If the main concern is a radius or chamfer rather than a size dimension, use the separate guide to deburring without over-rounding critical edges.
What should you bring to Richwood?
Bring a marked drawing or photo, material, incoming size range, burr location, batch quantity and the feature that has the least room to change. Include an acceptable finished reference if available. Identify who will perform the dimensional checks and what evidence is needed to accept the trial.
Talk with Richwood about the part and its dimensional limits. Confirm the sample arrangements and inspection responsibilities before shipping. The goal is a process that removes the burr while leaving an acceptable part—not a universal stock-removal number.