
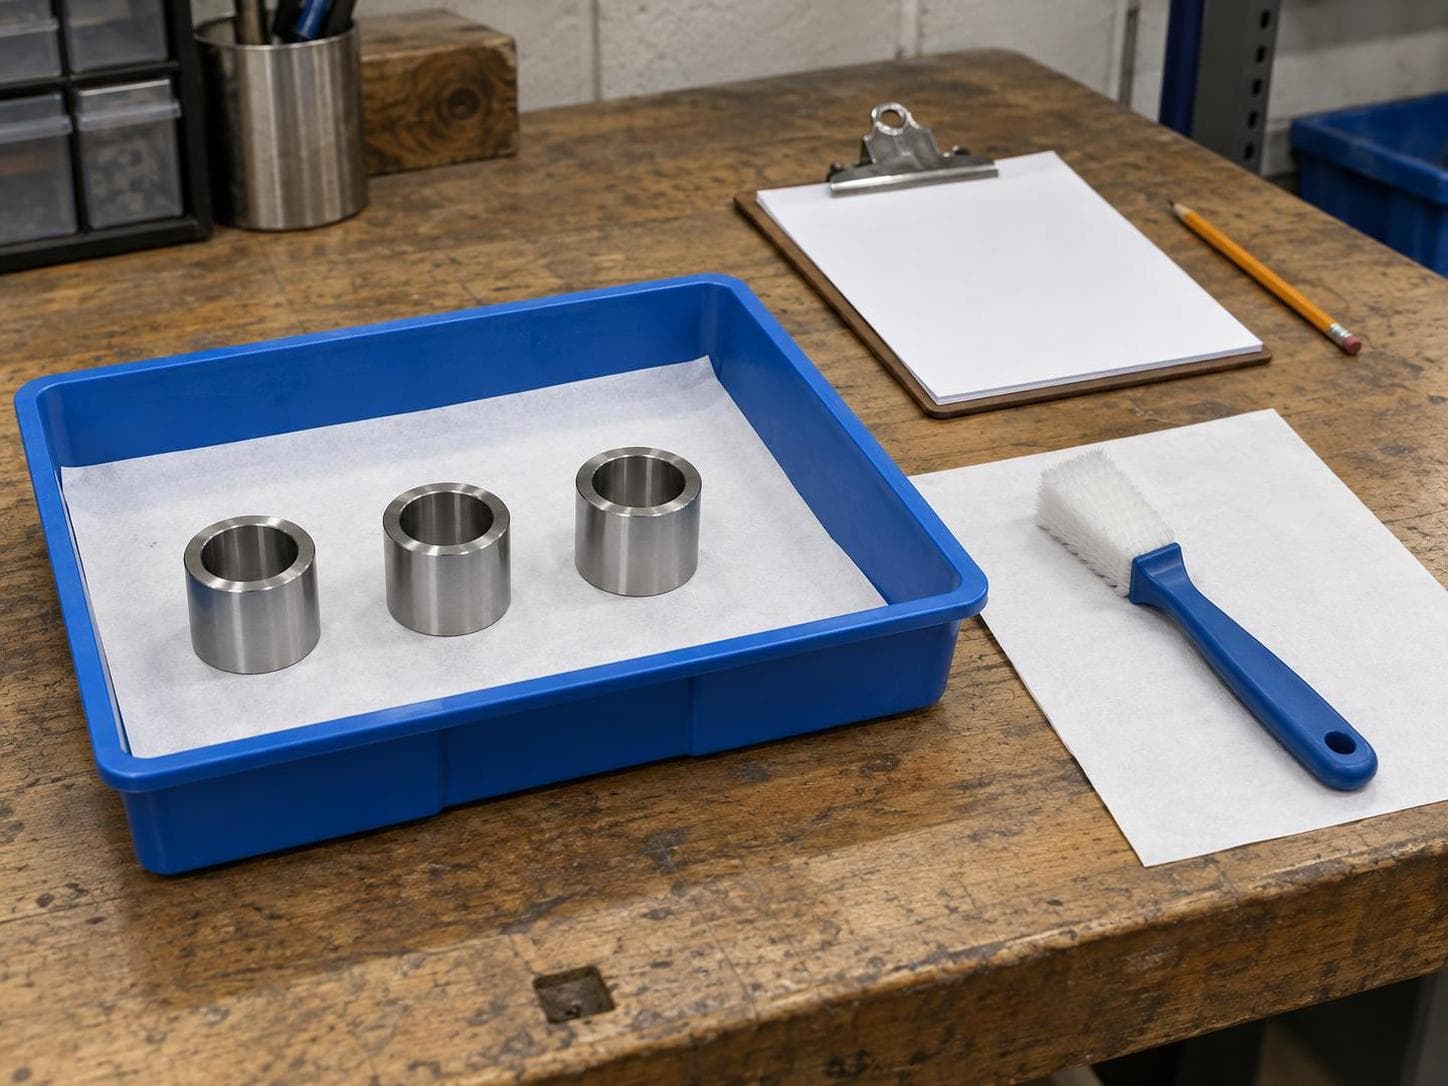
Do not treat an empty finishing machine as a clean one. Before running stainless parts after carbon steel, establish how the equipment, media and handling tools will be kept from transferring iron contamination. A shared machine needs a documented, verified changeover; where that cannot be established, start with dedicated equipment and consumables.
The first question is simple: what ran through this setup before your stainless parts?
AI-generated conceptual illustration of protected part handling and changeover planning. Not Richwood products, customer parts, a validated cleaning procedure or test evidence.
Why can stainless parts show rust after finishing?
Carbon-steel particles can transfer onto stainless surfaces during fabrication and handling. Those particles can later rust, making a stainless part appear to be rusting. Shared equipment, tools and work surfaces are potential transfer points.
That is a reason to investigate the process history, not diagnose every stain as iron contamination. The alloy, service conditions and other residues may matter too. Record when the discoloration first appeared and involve the person responsible for the part's quality requirements before selecting a corrective treatment.
A clean-looking or shiny surface is not proof that a contamination requirement has been met.
Review the whole changeover, not just the chamber
For a mass-finishing job, use this as a planning checklist. It is not a universal cleaning recipe or a substitute for the machine manufacturer's instructions.
| Checkpoint | What to establish before releasing the next job |
|---|---|
| Previous work | Identify the materials previously processed, the media used and any known contamination. Do not rely on an unlabeled bin or an operator's guess. |
| Machine and contact surfaces | Define the approved cleaning method and inspection for the chamber, liner, discharge path and other surfaces that contact the parts. |
| Media and process liquid | Confirm whether the existing media and liquid are suitable for the stainless job and its contamination limits. Do not assume that changing only the liquid resets the entire process. |
| Separation and handling | Include screens, baskets, scoops, drying equipment and storage trays in the review. A controlled finishing cycle can still be followed by uncontrolled handling. |
| Release criteria | Agree on the required cleanliness or corrosion-related checks, who performs them and what result permits production to proceed. |
The practical question is not merely whether the machine can finish both materials. It is whether this particular changeover can consistently meet the next part's requirements.
If you are considering different parts in the same load, that is a separate decision. See our guide to combining parts in a mass-finishing batch.
When does a dedicated setup make more sense?
Dedicated tools and segregated work areas reduce opportunities for carbon-steel contamination. In a finishing workflow, consider dedicated media, labeled containers and appropriate handling tools as part of the process review—not just a different machine setting.
Start with a dedicated setup when the shared equipment's history is unknown, the required changeover cannot be verified, or the part specification requires segregation. Where shared equipment is permitted, document the cleaning and release requirements before scheduling the job.
A dedicated tray alone does not prove the rest of the workflow is controlled. Follow the part from loading through its final packaging.
Does tumbling replace passivation?
Do not assume it does. Mechanical finishing and a specified chemical passivation treatment are different process steps. If the drawing or purchase requirement calls for passivation, preserve that requirement and confirm the process sequence and verification with the responsible quality team or qualified treatment provider.
Likewise, do not add a chemical treatment solely because a part looks stained. First establish the cause and the applicable requirements. This guide is not a passivation procedure and does not establish a Richwood passivation service.
What should you tell Richwood before choosing a process?
Start with the actual part: its stainless grade, incoming condition, burr or finish target, and any cleanliness or corrosion-related requirement. Then describe the machine, media, compound, previous materials and handling steps you currently use.
Include photographs of the issue and a finished reference if available. A reference helps explain the desired appearance; it does not replace the drawing or inspection requirements.
Contact Richwood to discuss the finishing setup. Identify the changeover and acceptance requirements before agreeing on a trial. The useful result is a process that fits the part—not a promise that rinsing out any machine makes it suitable for stainless.