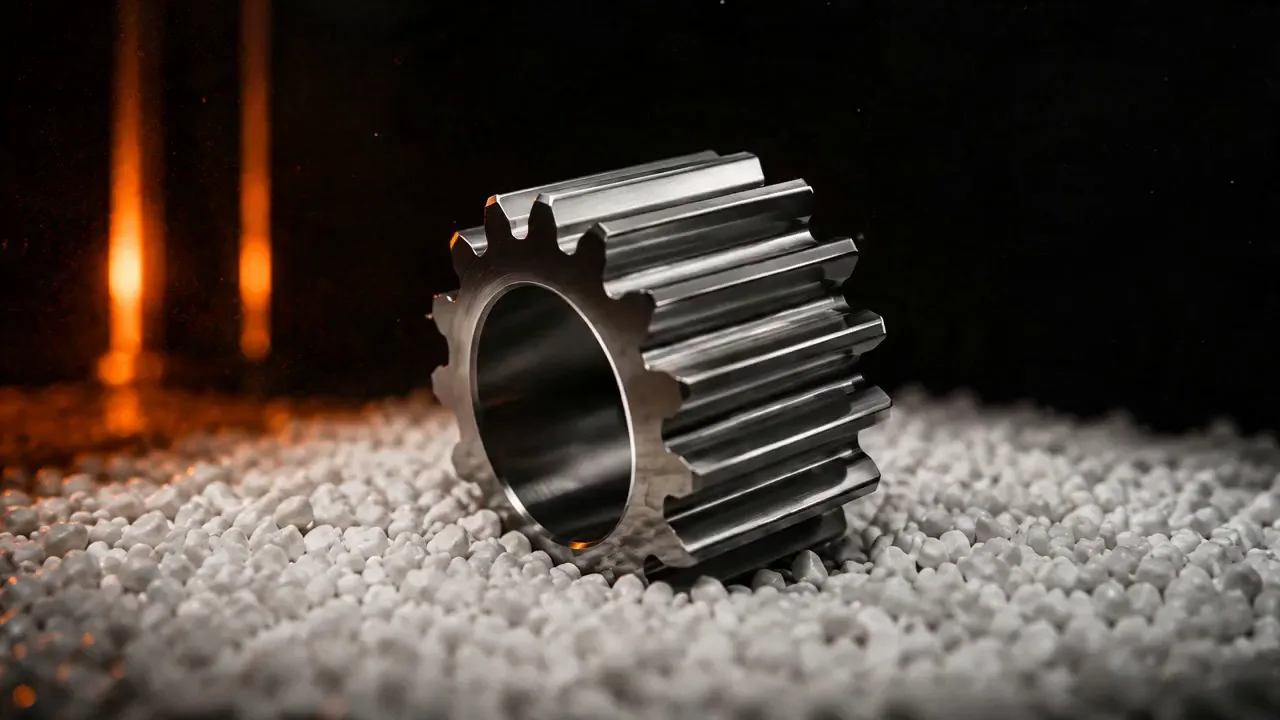
Centrifugal barrel finishing reduces layer lines and support witness marks on 3D-printed metal parts, on every surface the media can reach. High-energy media at up to roughly 25 G cuts the layer texture down and leaves a uniform isotropic surface in minutes to a couple of hours. The conditions are geometry and tolerance: internal channels, lattices, and tight dimensions each need their own proof.
That is the direct answer. The rest is how to set it up so the result is repeatable across builds, not just on one good prototype.
Start with a map of the part
A printed part does not have one surface condition. Build orientation, down-facing surfaces, support attachment points, and any post-build machining leave different textures on the same component. As-printed roughness on laser powder bed parts is often in the range of 5 to 15 microns Ra, with support scars far rougher than that.
Sort every surface into four groups before it sees media:
- Open exterior surfaces the media will reach
- Recesses and channels that need a media-entry and media-exit test
- Critical dimensions and edges that must be protected
- Blind, sealed, fragile, or inaccessible features that may need another method
If media cannot get into a feature, move through it, and come back out, no amount of force changes that.
Prepare the part before it goes in
Barrel finishing does not replace the earlier steps. Remove supports and large attachment points with the process your part already uses. Follow your printer maker's rules for loose powder. If a heavy witness mark is still standing proud, decide whether it needs targeted removal before the whole part goes into a cycle, because the barrel will round it rather than cut it flush.
Record the starting condition. Photograph the same spots every time. Measure the surfaces and dimensions the inspection plan calls for. Keep an unfinished control part from the same build.
Choose media by test, not by assumption
Titanium, stainless, Inconel, and tool steel all start with a cutting-grade ceramic media. Shape and size are chosen so the media reaches the intended surface and comes back out. Do not assume smaller media will clear an internal passage. Prove it, and prove you can get it all back out. Our media selection guide has the shapes and sizes.
Stage the cycles
Knocking down a heavy layer pattern and building a fine final surface are two different jobs. Run a cutting recipe first, inspect, then a finer ceramic or porcelain recipe if the spec calls for a smoother or brighter surface. Two short stages remove less material than one long one, and they let you stop when the part is right.
Change one variable at a time. Record media, compound, water, part count, load arrangement, speed, direction, and time. Around thin walls, sharp edges, and lattice members, start conservative and inspect for rounding and distortion, not just for a better-looking surface.
Which machine
The RW-6 is the machine most additive shops start with. Four 1 liter barrels on a bench, 110V, no compressed air, and the same high-energy process as the production units, so the recipe you develop transfers up. For production of finish-critical parts, the CV8-600 runs a controlled figure-8 motion in four 7.5 liter barrels with a stainless chassis and an integrated process timer. Both are in stock in Los Angeles.
Internal surfaces and getting the media out
A smoother exterior proves nothing about an internal surface. Inspect the internal features that matter with a method your quality plan accepts. Then decide how you will prove the media and fines are gone. Blind passages and enclosed lattices can make that impractical. If you cannot verify that loose media is out to the part's requirement, the part may not belong in loose-media finishing, even when the outside looks perfect.
Limits, stated plainly
Barrel finishing cannot promise every layer line gone, contact with every internal surface, a specific roughness, or unchanged dimensions. Any abrasive process removes material, rounds edges, and can damage a fragile feature. On regulated aerospace or medical work, qualification and release stay with you. A sample test tells you what the process does to your part. It does not certify anything.
Test a real printed part
Send us the part, the alloy, the surfaces that need work, the features to protect, and any internal areas you want evaluated. We run it in the actual machine, write down the recipe, and send it back for your inspection. Start a sample test, or see the space, satellite, and additive page.
Common questions
Can centrifugal barrel finishing remove layer lines on printed metal parts?
Yes, on exposed surfaces the media can reach. It knocks down layer texture and support witness marks and leaves an isotropic surface. Internal channels and blind features need their own test.
What media works best?
A cutting-grade ceramic for the first stage on titanium, stainless, Inconel, and tool steel. A finer ceramic or porcelain for the second stage if the spec needs it. Shape and size chosen to reach the feature and come back out.
Will it change the dimensions?
By a small amount, yes. Edges round first. Set the allowed removal before testing, protect critical features, and inspect after each stage.
Which machine should an additive shop start with?
The benchtop RW-6 for development and small batches, then the CV8-600 for production of finish-critical parts.